Tag: Gardening Tips

  • Golden Raspberry Garden Setup: How I (Hopefully) Got it Right

    Golden Raspberry Garden Setup: How I (Hopefully) Got it Right

    Hey there, garden enthusiasts! Welcome back to LitFoxFarm, where I sometimes know what I’m doing. Today, I’m going to spill the tea on my latest (mis)adventure: setting up two golden raspberry plants from FastGrowingTrees.com. (I took advantage of their BOGO deal!)
    Spoiler alert: the rest involves two 24”x24” galvanized raised beds, an arch trellis from Amazon, and a whole lot of “what was I thinking?” moments. Oh, and I documented the chaos on TikTok because why not share the struggle?

    Affiliate Disclaimer: 

    This post may contain affiliate links, which means I may receive a small commission at no additional cost to you if you make a purchase through these links. Thank you for supporting my blog and allowing me to continue to bring you valuable content.

    Choosing the Right Plants

    Golden raspberries – because regular raspberries are just too mainstream, right? I ordered mine from FastGrowingTrees.com, mostly because they had pretty pictures and I like shiny things, and I struggle to pass a good BOGO deal. But hey, they’re known for quality and customer service, so fingers crossed.

    Preparing the Raised Beds

    So, I decided on galvanized raised beds. Why? Because they’re shiny too. Here’s how I (mostly) managed to set them up without any major disasters:

    1. Location: I picked the sunniest spot in the garden. Translation: the spot that seemed the least likely to flood or be a squirrel playground.

    2. Assembly: These beds came with instructions. Did I follow them? Mostly. After some trial and error (and a few choice words), they were up and sort of level.

    3. Soil Preparation: I filled the beds with garden soil and compost, pretending I know what “well-aerated” means. If I can grow something here, anyone can.

    4. A Supportive Spouse: My ever-supportive spouse was there, offering helpful comments like, “Are you sure you know what you’re doing?” and “Should it be that crooked?” Thanks, love. Your unwavering confidence in my gardening skills is truly inspiring. (Insert eye roll here.) But seriously, their occasional extra pair of hands and moral support kept me from spiraling into self doubt.

    Planting the Raspberries

    Planting these golden beauties was supposed to be straightforward. Supposed to be. Here’s my best shot:

    1. Spacing: Planted them dead center because that’s what the pros do (I think).

    2. Planting Depth: Dug holes, placed plants, filled with soil. Not rocket science, but I managed to second-guess myself every step of the way.

    3. Watering: Watered them like they were thirsty toddlers. Here’s hoping they appreciate it.

    Adding the Arch Trellis

    Why an arch trellis? Because it looks fancy and I thought it would make me look like I know what I’m doing. Here’s the drama that unfolded:

    1. Installation: Positioned the trellis between the beds. It’s now securely anchored, or as secure as it gets when I do it.

    2. Training the Canes: These raspberries are going to grow all over the place. I’ll be there, gently guiding them, pretending I’m some sort of plant whisperer.

    Documenting the Process on TikTok

    Because what’s a gardening project without sharing every misstep on TikTok? Check out my clips [@litfox.lynzy] to see the magic (and mess) unfold. From unboxing to planting, it’s all there, complete with background commentary from my inner critic.

    In the End

    Setting up these golden raspberry plants was a ride. Will they thrive? Stay tuned to find out. If I can (hopefully) do this, so can you. Remember, gardening is all about trial, error, and occasionally getting it right. Until next time, happy gardening and may your plants be ever in your favor!
  • Herbal Remedies: Grow Your Own Medicine Garden with Peppermint, Chamomile, and More

    Herbal Remedies: Grow Your Own Medicine Garden with Peppermint, Chamomile, and More

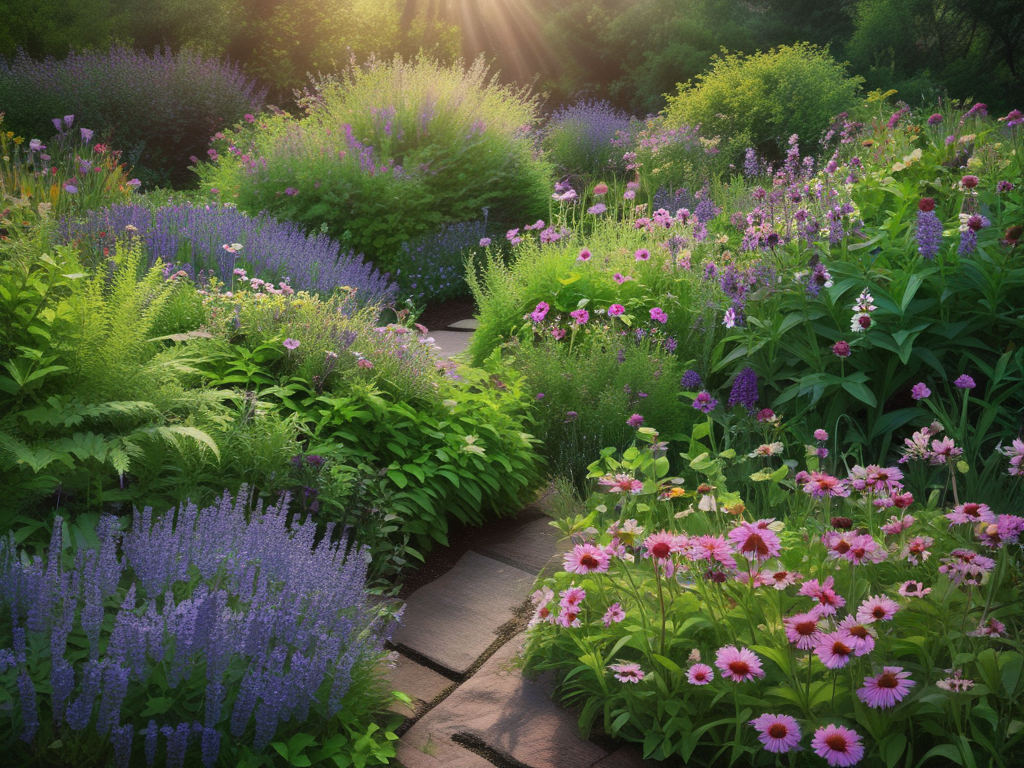
    Growing your own herbs not only adds fresh flavors to your cooking but also provides a natural pharmacy right in your backyard. Herbal remedies have been used for centuries to treat common ailments, and many of these powerful plants can be easily cultivated in your garden. This post will discuss various herbs, their uses for natural remedies, and how to harvest, prepare, and use them to treat headaches, colds, minor cuts, and more.

    1. Peppermint

    Uses:

    Headaches: Peppermint is known for its soothing properties that can help alleviate headaches.

    Digestive Issues: It can also ease digestive discomfort and nausea.

    How to Grow:

    Planting: Peppermint prefers partial shade and moist soil. It can be grown in containers to prevent it from spreading excessively.

    Harvesting: Harvest the leaves before the plant flowers by cutting the stems just above the first or second set of leaves.

    How to Use:

    Peppermint Tea: Steep a handful of fresh peppermint leaves in boiling water for 5-10 minutes. Drink the tea to relieve headaches and digestive issues.

    Peppermint Oil: Crush fresh leaves and rub the oil on your temples to ease headache pain.

    2. Chamomile

    Uses:

    Sleep Aid: Chamomile is well-known for its calming effects, making it an excellent remedy for insomnia and anxiety.

    Skin Irritations: It can also soothe skin irritations and minor cuts.

    How to Grow:

    Planting: Chamomile prefers full sun and well-drained soil. It can be grown from seeds or transplants.

    Harvesting: Harvest the flowers when they are fully open, typically in the morning after the dew has dried.

    How to Use:

    Chamomile Tea: Steep dried chamomile flowers in hot water for 5-10 minutes. Drink before bedtime to promote restful sleep.

    Chamomile Compress: Make a strong tea, soak a cloth in it, and apply to irritated skin or minor cuts for relief.

    3. Lavender

    Uses:

    Anxiety and Stress: Lavender is renowned for its calming and relaxing properties.

    Minor Burns and Cuts: It also has antiseptic and anti-inflammatory properties.

    How to Grow:

    Planting: Lavender thrives in full sun and well-drained soil. It prefers a slightly alkaline soil.

    Harvesting: Harvest the flowers when they are in full bloom by cutting the stems just above the leaves.

    How to Use:

    Lavender Sachets: Place dried lavender flowers in a sachet under your pillow to promote relaxation and sleep.

    Lavender Oil: Infuse lavender flowers in oil and apply to minor burns and cuts to soothe and heal.

    4. Echinacea

    Uses:

    Immune Support: Echinacea is commonly used to boost the immune system and fight colds and infections.

    Wound Healing: It also has properties that promote wound healing.

    How to Grow:

    Planting: Echinacea prefers full sun and well-drained soil. It can be grown from seeds or transplants.

    Harvesting: Harvest the flowers and leaves when the flowers are fully open.

    How to Use:

    Echinacea Tea: Steep fresh or dried flowers and leaves in hot water for 10-15 minutes. Drink the tea to help fight off colds and infections.

    Echinacea Salve: Infuse dried echinacea in oil, mix with beeswax, and apply to cuts and wounds to promote healing.

    5. Calendula

    Uses:

    Skin Inflammations: Calendula is excellent for treating skin inflammations, rashes, and minor wounds.

    Digestive Health: It also supports digestive health and can be used to treat ulcers.

    How to Grow:

    Planting: Calendula prefers full sun to partial shade and well-drained soil. It can be grown from seeds.

    Harvesting: Harvest the flowers in the morning after the dew has dried, when they are fully open.

    How to Use:

    Calendula Salve: Infuse calendula flowers in oil, mix with beeswax, and apply to skin irritations and minor wounds.

    Calendula Tea: Steep dried calendula flowers in hot water for 5-10 minutes. Drink the tea to support digestive health.

    Conclusion

    Incorporating herbal remedies into your daily routine can provide natural and effective solutions for common ailments. By growing these herbs in your garden, you can have a ready supply of fresh, potent ingredients to support your health. Remember to consult with a healthcare provider before using herbal remedies, especially if you have any underlying health conditions or are taking medications. Happy gardening and healing!

  • Enhance Your Homestead with Soil Science: 8-Week Series

    Enhance Your Homestead with Soil Science: 8-Week Series

    Hello, fellow homesteaders! Welcome to the first post in my new series on sustainable agriculture. Over the next eight weeks, we’ll dive deep into the fascinating world of soil science. Whether you’re new to homesteading or looking to expand your knowledge, this journey will equip you with essential skills and insights to improve your garden and boost your homesteading success.

    Affiliate Disclaimer: 

    This post may contain affiliate links, which means I may receive a small commission at no additional cost to you if you make a purchase through these links. Thank you for supporting my blog and allowing me to continue to bring you valuable content.

    The Importance of Soil in Agriculture

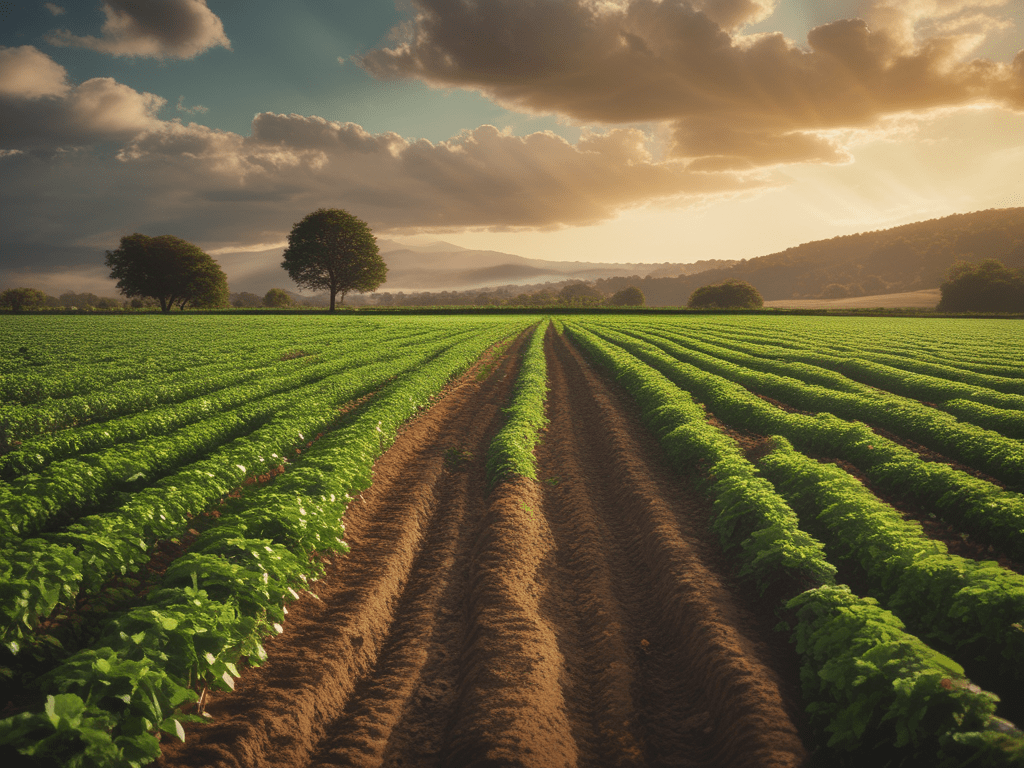
    Soil is the foundation of any successful garden or farm. It’s more than just dirt—it’s a living ecosystem that supports plant growth, holds water and nutrients, and provides a habitat for countless organisms. Healthy soil is crucial for growing nutritious crops and maintaining a sustainable homestead. Understanding soil science will empower you to create and maintain fertile, productive soil, ensuring a bountiful harvest for years to come.

    What We’ll Learn in the Next 8 Weeks

    Over the next eight weeks, we’ll cover the following topics:

    1. Soil Testing Basics: How to test soil pH and nutrient levels.
    2. Improving Soil Health: Methods for amending soil based on test results.
    3. Crop Selection and Rotation: Choosing the right crops and practicing crop rotation.
    4. Permaculture Principles Part 1: Introduction to permaculture design strategies based on the book “Introduction to Permaculture.” by Bill Mollison & Reny Mia Slay
    5. Permaculture Principles Part 2: Practical examples and designing your own permaculture garden based on the book “Introduction to Permaculture.” by Bill Mollison & Reny Mia Slay
    6. Organic Farming Techniques: Natural pest control and sustainable farming practices.
    7. Review and Certification: A comprehensive review of soil science and awarding of certificates and badges.

    By the end of this series, you’ll have a solid understanding of soil science and practical skills to enhance your gardening efforts.

    Reading Assignment: “The Soil Will Save Us” by Kristin Ohlson

    To kick off our soil science journey, we’ll start with a reading assignment: “The Soil Will Save Us” by Kristin Ohlson. This book explores the critical role soil plays in our environment and how we can restore its health through regenerative agricultural practices. Ohlson’s compelling narrative and scientific insights make it an engaging and informative read for anyone interested in sustainable agriculture.

    Reading Tips:

    • Aim to read a few chapters each week.
    • Take notes on key concepts and ideas.
    • Reflect on how the information applies to your own homestead.

    Discussion on the Role of Soil Health

    Soil health is integral to successful agriculture and sustainable living. Healthy soil:

    • Supports Plant Growth: Provides essential nutrients and a stable structure for roots.
    • Enhances Water Retention: Helps retain moisture, reducing the need for frequent watering.
    • Promotes Biodiversity: Hosts a diverse community of organisms that contribute to soil fertility and plant health.
    • Sequesters Carbon: Plays a role in mitigating climate change by storing carbon.

    As we progress through this series, we’ll explore practical ways to improve soil health on your homestead. From soil testing and amendments to permaculture principles and organic farming techniques, you’ll gain valuable knowledge to cultivate a thriving, sustainable garden.

    Stay tuned for next week’s post, where we’ll delve into the basics of soil testing. We’ll guide you through the process of testing your soil’s pH and nutrient levels, a crucial first step in understanding and improving your soil health.

    Happy Homesteading!

    Feel free to share your thoughts and experiences in the comments below. Let’s learn and grow together!